How to Use Procreate as a Drawing Tablet
Introduction
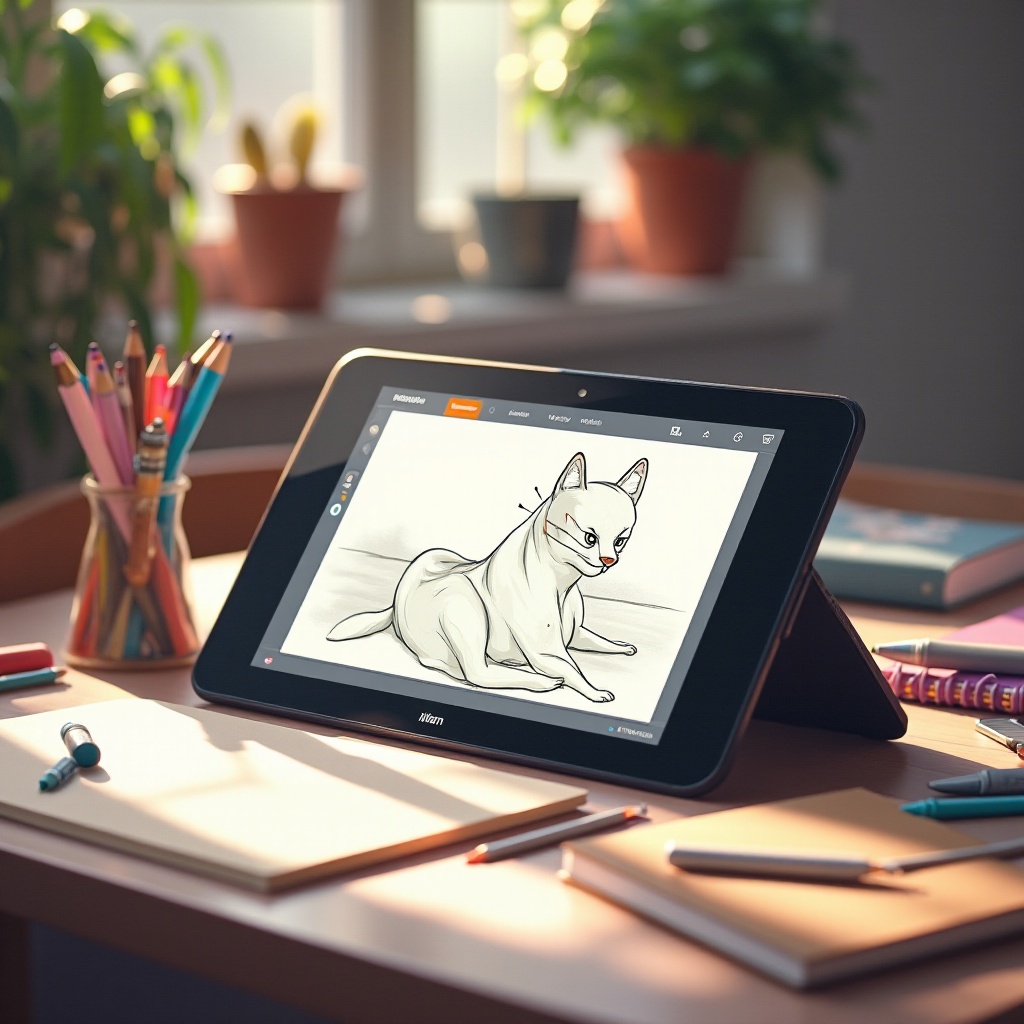
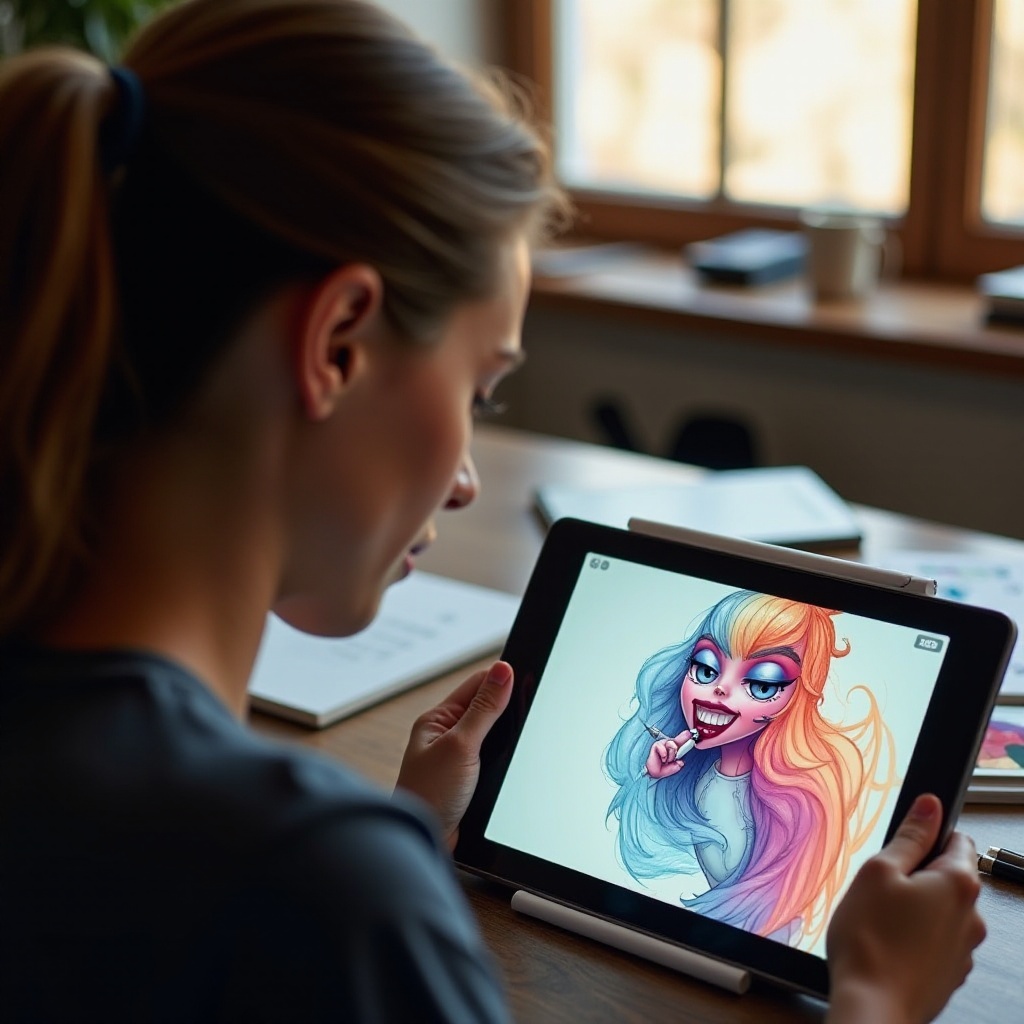
Procreate is renowned for its powerful and versatile features, making it a favorite among digital artists. For those looking to transform their iPad into a remarkable drawing tablet, Procreate offers an unparalleled experience. Whether you are a beginner or looking to refine your skills, understanding how to harness Procreate’s potential can elevate your artwork. This guide will walk you through the process, from selecting the right tablet to mastering the essential tools and techniques in Procreate.
Understanding Procreate
Procreate is a robust digital illustration app designed specifically for the iPad. Launched in 2011 by Savage Interactive, it has since become the go-to software for many professional and hobbyist artists alike. The app provides a wide array of brushes, pens, and pencils mimicking real art tools, offering the flexibility to create everything from intricate sketches to high-definition paintings.
With features such as layer management, customizable brushes, and an intuitive user interface, Procreate caters to all levels of artists. Its ability to handle large files and high-resolution canvases makes it an exceptional tool for creating stunning digital art. Grasping these capabilities lays the groundwork for effective use.
Understanding Procreate’s features and tools is crucial before we dive into the hardware requirements. By having a good grasp of what the app offers, you will be better positioned to choose the right iPad model for your needs.
Choosing the Right Tablet
Selecting the correct iPad model is crucial for leveraging Procreate’s full potential. While Procreate supports all iPads running iOS 13.2 or later, the experience can vary based on the hardware performance.
-
iPad Pro: This is the best choice for those looking for the ultimate Procreate experience. It offers superior performance, larger screen options, and the latest Apple Pencil compatibility.
-
iPad Air: A more budget-friendly option yet still powerful enough to handle Procreate with ease.
-
iPad Mini: For artists who prefer a compact device, the iPad Mini is an excellent option without compromising too much on functionality.
-
Standard iPad: The most affordable, suitable for those new to digital art or working with a limited budget.
Ensure your chosen tablet has adequate storage capacity, as Procreate files can consume significant space, especially when working with high-resolution images and multiple layers.
After choosing the right tablet, the next step is setting up Procreate. Proper setup ensures a smooth start to your digital art journey.
Setting Up Procreate
Before diving into the creative process, you need to set up Procreate properly. Here’s how:
-
Download Procreate: Purchase and download Procreate from the Apple App Store.
-
Apple Pencil Pairing: If you have an Apple Pencil, pair it with your iPad. This will generally offer the most seamless experience.
-
Procreate Settings: Upon opening Procreate, navigate through the app’s settings (the wrench icon) to customize preferences like color profiles, canvas size, and shortcuts.
-
Create a Canvas: Tap the ‘+’ sign in the upper right corner to start a new canvas. You can choose from preset sizes or create a custom size.
Now that Procreate is set up, familiarizing yourself with its user interface will make the creative process smoother.
Basic Tools Overview
Procreate’s toolbox is both extensive and essential for creating outstanding artwork. Here is a quick rundown:
-
Brushes: Procreate comes with a vast library of brushes for various styles. Experiment with different brushes to see how they affect your work.
-
Layers: Layers are vital for non-destructive editing. Use layers to separate elements of your illustration and easily edit them without affecting the whole piece.
-
Color Picker: The detailed color picker allows for precise color selection, along with the ability to create and save custom palettes.
-
Selection Tool: This tool lets you select specific areas of your canvas for focused editing.
-
Transform Tool: Used to move, rotate, and scale objects.
-
Undo/Redo: Procreate provides a gesture-based system for quickly undoing (tap with two fingers) and redoing (tap with three fingers) actions.
By mastering these tools, you can streamline your workflow and focus on the creative aspects of your projects.
The tools form the foundation of your digital art process, and knowing how to use them can significantly enhance your experience. Now let’s explore some essential tips for beginners to help you navigate Procreate more effectively.
Essential Tips for Beginners
Starting with Procreate can be daunting, but these tips will help you get started effectively:
-
Use Tutorials: Procreate offers built-in tutorials and there are numerous community-created tutorials online. These can be invaluable in learning new techniques.
-
Experiment with Brushes: Immersing yourself in different brush types and textures can help you find the styles that suit your artwork.
-
Leverage Layers: Use layers to manage different components of your illustration. Name and organize layers to keep your workflow clean.
-
Practice Gestures: Get comfortable with Procreate’s gesture controls to expedite your process.
-
Custom Palettes: Create and save color palettes that match your artistic needs.
-
Regularly Save Work: Although Procreate autosaves, manually saving your progress frequently can safeguard against unexpected crashes.
Leveraging these tips helps in efficiently navigating Procreate and making the learning curve less steep.
As with any tool, the more you practice, the better you will become. Regular practice is essential to mastering Procreate and enhancing your digital art skills.
Practice Makes Perfect
Like any art form, continuous practice is key to proficiency. Here are some ways to improve:
-
Daily Sketches: Dedicate at least 15-30 minutes each day to sketching. This habit enhances muscle memory and creativity.
-
Join Communities: Engage with online Procreate communities for feedback, tips, and inspiration.
-
Replicate Artworks: Try replicating artworks from your favorite artists. This exercise is great for learning techniques and styles.
-
Challenge Yourself: Take part in drawing challenges or create your own goals to push your limits.
Persistent practice not only helps in understanding Procreate better but also in finding your unique artistic voice.
Conclusion
Procreate is a powerful, feature-rich app that can transform your iPad into an excellent drawing tablet. By choosing the right tablet, setting up the app, understanding its fundamental tools, and continually practicing, you can elevate your digital artwork. Dive into the world of digital art and let Procreate be your guide.
Frequently Asked Questions
What tablets are compatible with Procreate?
Procreate is compatible with any iPad running iOS 13.2 or later, including the standard iPad, iPad Mini, iPad Air, and iPad Pro.
How do I transfer my Procreate files to my computer?
You can transfer files by exporting them through Procreate’s share options. Use email, cloud storage services like iCloud or Dropbox, or a direct connection through iTunes or Finder.
Can I use Procreate on non-Apple tablets?
No, Procreate is exclusively designed for iPads and is not available on non-Apple tablets. Other devices must use different software applications for drawing.
