How to Reset Your Arlo Pro 4 Camera: A Step-by-Step Guide
Introduction
A reliable home security system is crucial for ensuring the safety of your property. The Arlo Pro 4 camera is a popular choice due to its advanced features and ease of use. However, sometimes you may encounter issues, such as connectivity problems or performance glitches, which may require you to reset the device. This comprehensive guide will walk you through the steps needed to reset your Arlo Pro 4 camera, whether you’re performing a soft reset or a hard reset. By following these instructions, you can restore your camera’s functionality and ensure it keeps working efficiently.
Understanding the Need for a Reset
There are various reasons why you might need to reset your Arlo Pro 4 camera. One common cause is troubleshooting connectivity issues, which can arise from network changes or interruptions. Additionally, if your camera isn’t responding or functioning as expected, a reset can help resolve these performance issues. Finally, resetting your camera can be beneficial when you want to clear settings before transferring ownership or conducting a significant configuration overhaul. Understanding when and why a reset is necessary can save you time and ensure your security system remains reliable.
Preparing for the Reset
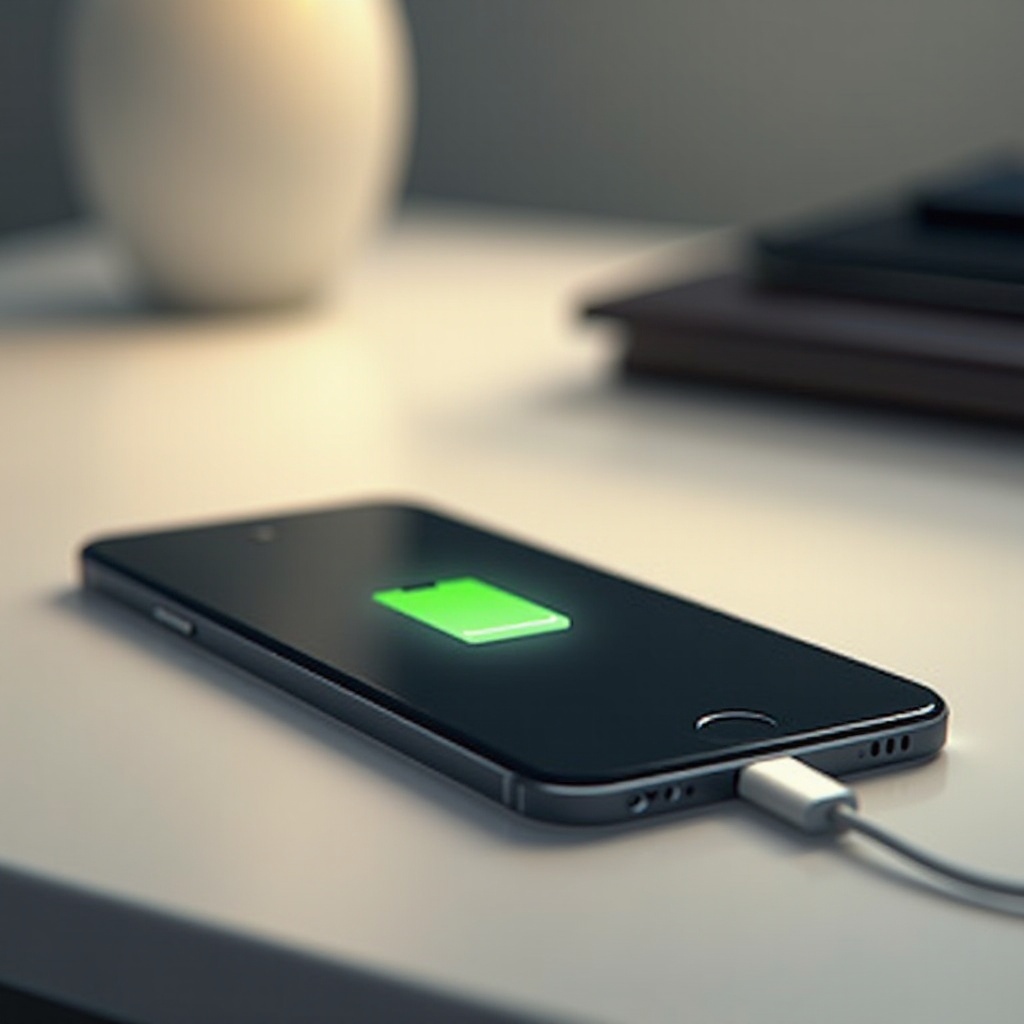
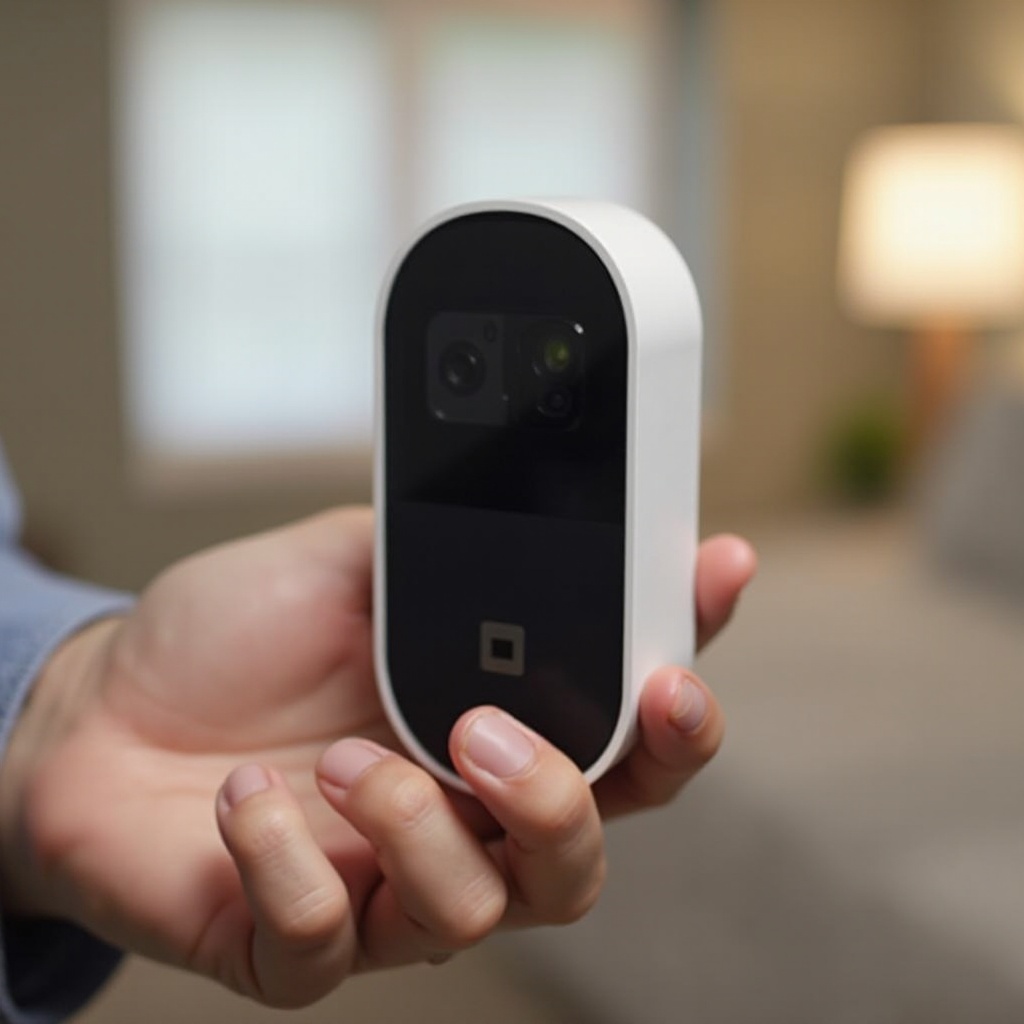
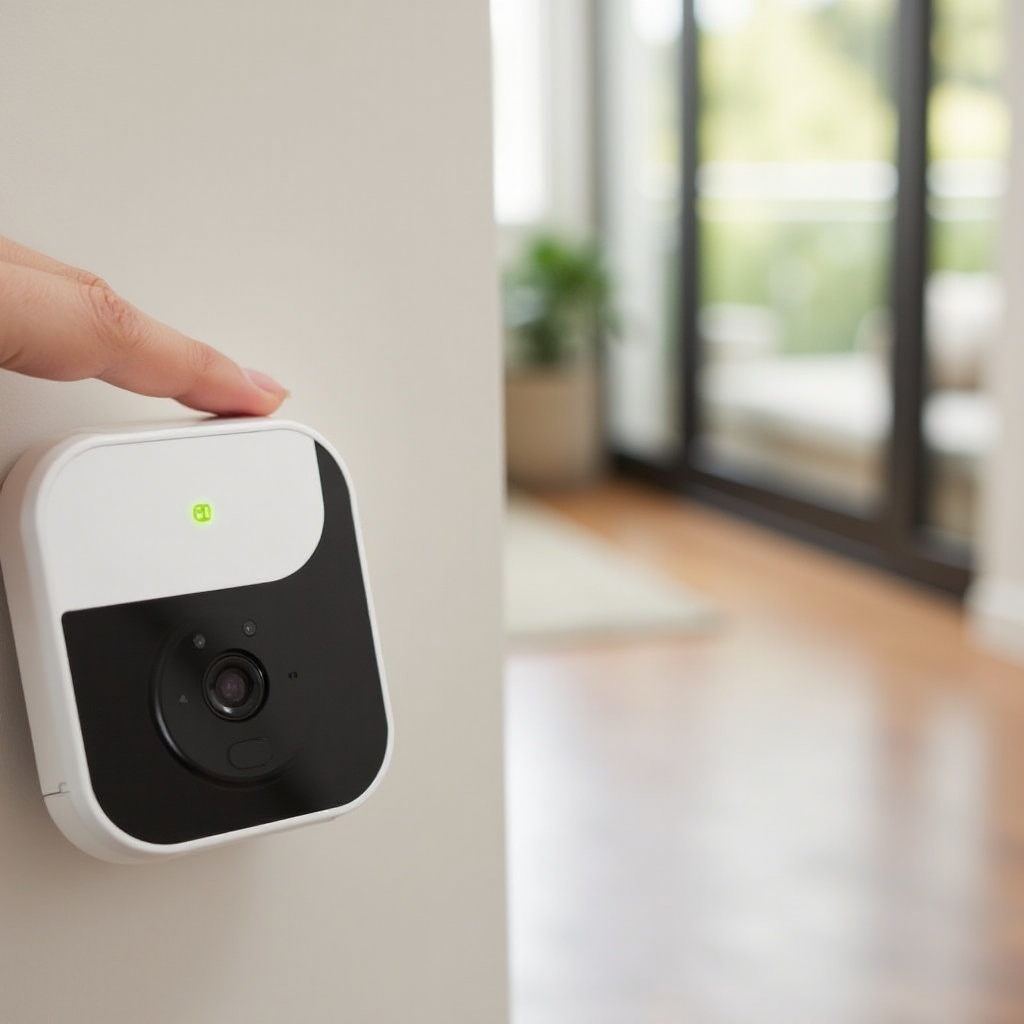
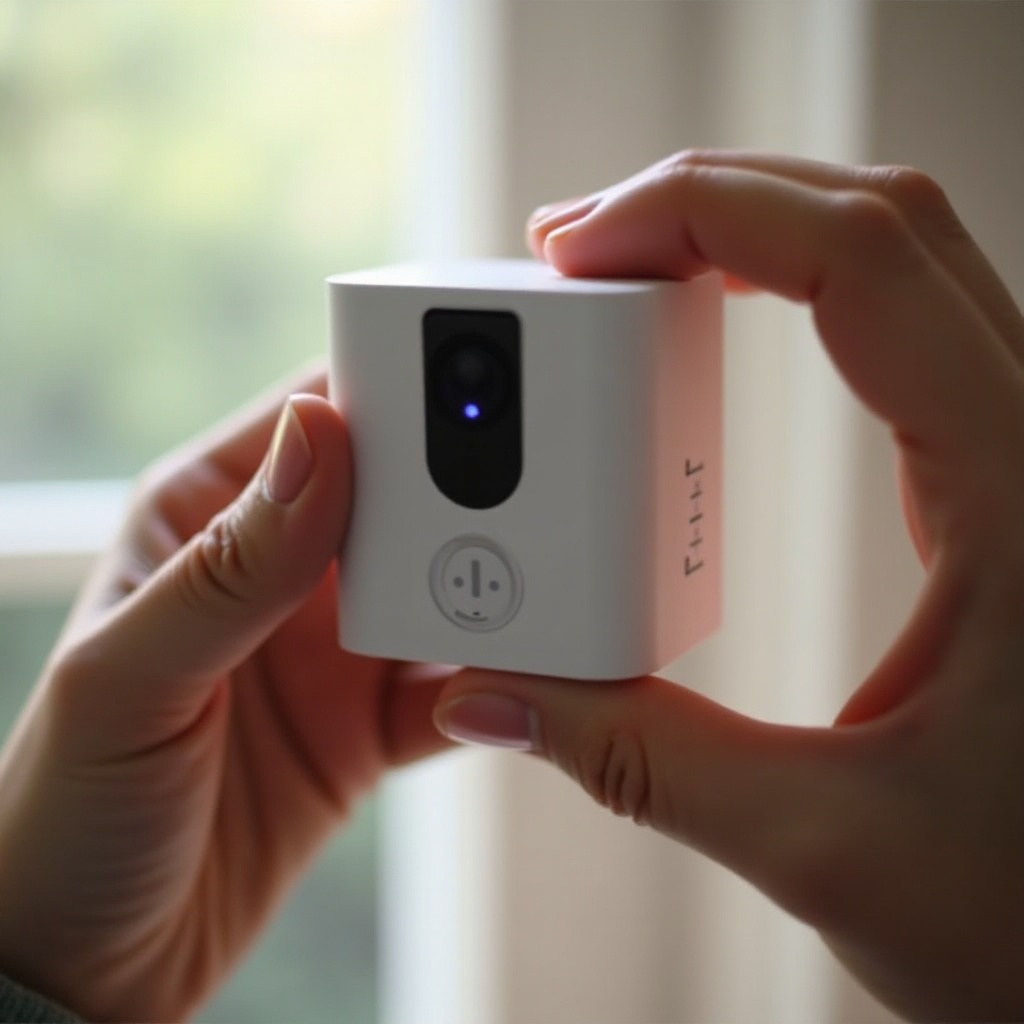
Before you begin the reset process, it’s important to take a few preparatory steps to ensure a smooth procedure. First, ensure that your camera is fully charged or connected to a power source to prevent any interruptions during the reset. Next, locate the reset button on your Arlo Pro 4 camera; it’s usually situated on the side or back of the device. Finally, prepare to reconfigure your camera settings after the reset, as you might need to re-establish Wi-Fi connections and other personalized settings. Proper preparation will help streamline the reset process and minimize any potential disruptions.
How to Perform a Soft Reset
A soft reset is usually the first step in troubleshooting minor issues with your Arlo Pro 4 camera. Follow these steps to perform a soft reset:
- Ensure the camera is powered on and has a stable connection.
- Press and hold the reset button on the side or back of the camera for about 10 seconds.
- Release the button when the camera’s LED indicator starts flashing.
- Wait for the camera to reboot, which may take a couple of minutes.
A soft reset doesn’t erase your camera’s settings but can resolve temporary problems and restore responsive operation. If the issues persist after completing a soft reset, you may need to proceed with a hard reset.
How to Perform a Hard Reset
A hard reset is more comprehensive and can resolve more persistent issues. However, it will erase all settings and return the camera to its factory defaults. Follow these steps:
- Ensure the camera is powered on and connected to a power source.
- Locate the reset button on your camera.
- Press and hold the reset button for about 20 seconds, or until the LED indicator turns off and on again.
- Release the button and allow the camera to complete the reboot process.
The hard reset takes a few minutes, after which the camera will be restored to its default settings. You will need to set up your Arlo Pro 4 camera from scratch, as if it were a new device. This process is useful if a soft reset does not resolve the issues or if you need to clear the camera before transferring it to a new owner.
Post-Reset Setup and Configuration
After resetting your Arlo Pro 4 camera, you’ll need to reconfigure it to get it back up and running. Here’s how:
- Open the Arlo app on your smartphone or computer.
- Sign in to your Arlo account or create a new one if necessary.
- Follow the in-app instructions to add a new device.
- When prompted, select ‘Arlo Pro 4’ and follow the steps to reconnect it to your Wi-Fi network.
- Set up your camera’s settings again, including zones, motion detection areas, and notification preferences.
By carefully completing these steps, you can ensure your camera is correctly configured and ready to protect your home once more. The post-reset setup process is crucial for maximizing the functionality and effectiveness of your security system.
Troubleshooting Common Reset Issues
Sometimes, resetting your Arlo Pro 4 camera may not proceed as smoothly as expected. Here are some common issues and their solutions:
- Camera not responding: Ensure the camera is properly connected and powered. Check the power source and try using a different USB cable if necessary.
- Reset button not working: Double-check the location of the reset button and make sure you’re holding it down for the required duration (10 seconds for a soft reset, 20 seconds for a hard reset).
- Connectivity issues post-reset: Verify your Wi-Fi network is operational and that the camera is within range. Re-enter Wi-Fi credentials carefully during the setup.
Addressing these issues promptly can help you perform a successful reset and restore the functionality of your Arlo Pro 4 camera.
Conclusion
Resetting your Arlo Pro 4 camera can resolve many common issues, ensuring your home security system operates smoothly. Whether you choose a soft or hard reset, following the outlined steps will help you manage the process efficiently. Remember to reconfigure your camera post-reset and tackle any troubleshooting needs that arise.
Frequently Asked Questions
What should I do if my Arlo Pro 4 camera doesn’t reset?
If your camera does not reset, try ensuring it is properly connected to a power source. Check the reset button and power cycle the camera. If issues persist, consider contacting Arlo support for further assistance.
Will resetting my Arlo Pro 4 camera delete all my settings?
A soft reset retains your settings, while a hard reset will erase all your configurations and restore the camera to factory defaults.
How often should I reset my Arlo Pro 4 camera?
Reset your Arlo Pro 4 camera only when necessary, such as when experiencing connectivity or performance issues, or when preparing the camera for new ownership. Frequent resets are not typically needed.